Traffic lights with scratch
Files
Step 1 : Add the scenario
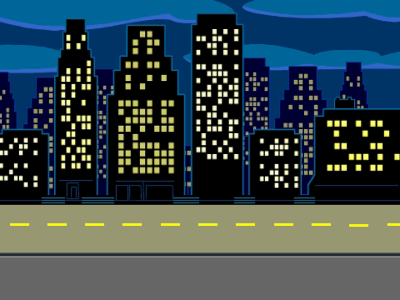
- Change the background following the illustration on the left
Step 2 : Add the car and make it move!
- Add the car to the scene by clicking "Choose a sprite" and selecting the car from the gallery
- Click on the car to activate it
- Place the car in the initial position, on the left of the scene
- Add the starting block "When green flag clicked"
- Create the movement of the car
- Add the "Forever" block (control section) to create a loop
- Add a "Move ... Steps" block in the loop and put a number in the text box. The higher the number the faster the car will move
- Move the car to the beginning once it leaves the screen on the right
- Add an "If...then" block (control section) in the loop, right below the "Move....steps" block
- Add the operator "Bigger than..." between if and then. Add the "x position" block in the operator, on the left side of the ">" symbol. On the right of the ">" symbol write the x position of the limit of the screen (See example in the illustration on the left)
- Add a block "Go to x: .. y: .." in the "If" block with the position in which you want the car at the beginning of the scene, on the left of the screen
- This will make the car move from left to right until the end of the screen and then start again from the left of the screen, indefinitely
Step 3 : Add the traffic lights
- Import the images from your computer into scratch (files link above). For that, click to choose a sprite and then "upload" and select one of them.
- Click the traffic light to activate it then go to costumes
- Add the other two colours as different costumes. Go to costumes and add the two remaining images by clicking "upload costume" and selecting them
- Give a name to each costume: red, yellow, green
- Create a variable "light". In the menu on the left, click "Variables" and then "Make a variable" . Give it the name "light"
- Make the traffic light work!
- Change the costume of the traffic light from one colour to another, with a pause of 2 seconds in between
- After you change each colour, set the value of the variable "light" to that colour, so the car knows what to do (you will understand this better in the next step)
Step 4 : Stop the car when is red!
We need to stop the car when the traffic light is red and slow it down when it's yellow. For that, we are going to change the behaviour of the car.
- Click on the car to activate it
- Inside the loop, create these two conditions:
- If the light is green, the car moves 4 steps
- Add an "If...then" block as the first block of the loop
- Insert an equivalence (from the operators section) between If and Then
- Put the variable "light" on the left of the "=" and "green" on the right
- Put a "Move 4 steps" block after the "then". This means that when the variable light will be green (the variable you created in the step above), the car will move 4 steps
- If the light is yellow, the car only moves 1 step
- Add an "If...then" block after the condition you just created
- Insert an equivalence (from the operators section) between If and Then
- Put the variable "light" on the left of the "=" and "yellow" on the right
- Put a "Move 1 steps" block after the "then". This means that when the variable light will be yellow, the car will move 1 step
- Add an "If...then" block after the condition you just created
- If the light is green, the car moves 4 steps


